Special gem reference: Flame Gem, Star Gem and Hypercube
Three special gems carry almost all of the tactical weight in this game. Everything else — goals, blockers, board shapes — is a variation on the question of which of the three you can build, and where. This page is the reference the rest of our guides assume you have read.
The three gems
| Gem | How it is created | What it clears |
|---|---|---|
| Flame Gem | Four gems of one colour in a line; in this game a four-gem square also produces one | Blows a square-shaped hole in the board around itself, taking any special gems inside that area with it |
| Star Gem | Two intersecting matches — the L or T shapes formed when a match of five crosses itself | Fires along the row and the column at once, clearing in a cross |
| Hypercube | Five gems of one colour in a straight line | Swap it with any gem to remove every gem of that colour from the board |
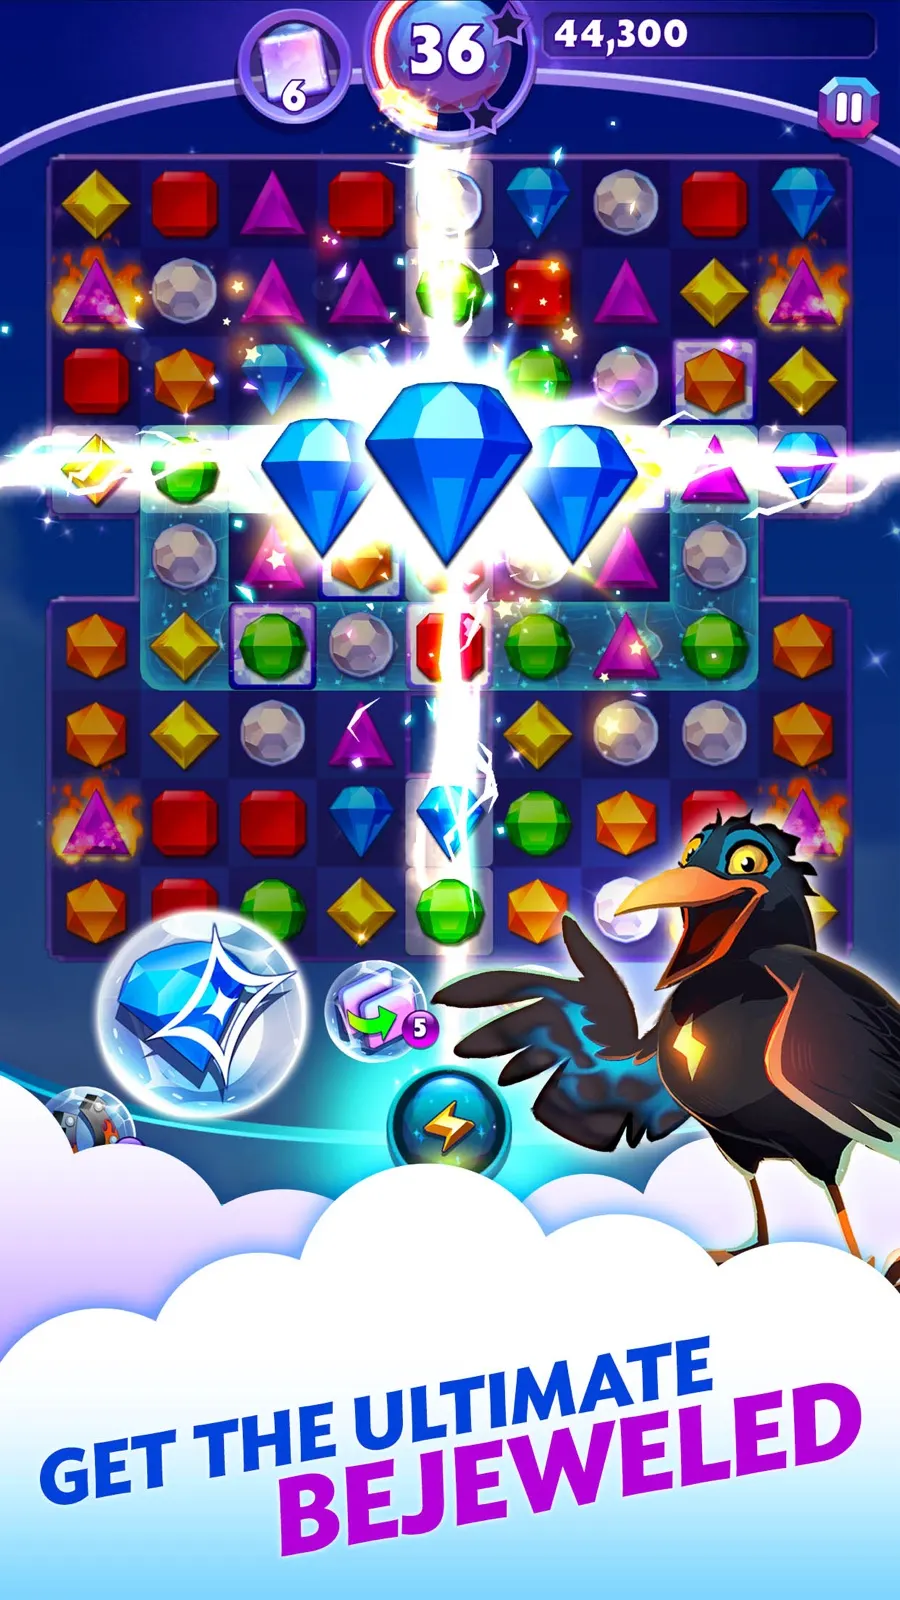
Choosing between them
The three are not interchangeable, and the choice is usually dictated by the shape of the goal rather than by which is "strongest":
- Clustered obstacles — a Flame Gem, because its clear is compact and hits everything around a point.
- A long line of tiles to convert or clear — a Star Gem, because a cross covers an entire row and column in one detonation.
- One colour dominating an unreachable area — a Hypercube, which removes that colour wherever it happens to be.
Chaining two specials
Detonating a special inside the blast radius of another sets off both, and the combined clear is considerably larger than either alone. Two practical consequences:
- When you create a special, note what is near it before you fire it. A Flame Gem two tiles from a Star Gem is worth one move of repositioning.
- A Hypercube swapped against a gem adjacent to other specials will take those specials with it, which is the largest single clear most players will ever set up.
The two mistakes we see most
Firing on sight
A special detonated the moment it appears usually clears ordinary gems that would have fallen anyway. If nothing on the goal counter moves as a result, the move was spent on score.
Hoarding
The opposite error is just as costly. Boards here reshuffle when no moves remain, and levels have hard move limits, so a Hypercube kept for a perfect future opportunity is often simply a Hypercube you never used.
Practising deliberately
Replay a cleared level with a single restriction: build only Star Gems, even when a Flame Gem is easier. Then replay it again building only Flame Gems. The difference in how the board behaves teaches the shapes faster than any table can, including this one.